Installing a jet pump for your home water system can be a rewarding DIY project that saves money and enhances your understanding of your home’s plumbing. Whether you’re drawing water from a shallow well, a deep well, or another water source, following the correct installation steps is crucial for efficient operation and longevity of the pump. Here’s a step-by-step guide to help you install a jet pump at your home.
Step 1: Select the Right Jet Pump
Before installation, ensure you have the correct type of jet pump:
- Shallow well jet pumps are suitable for water sources less than 25 feet deep.
- Deep well jet pumps (which use two pipes) are needed for sources deeper than 25 feet.
Choosing the correct pump involves understanding the depth of your water source and your home’s water demand.
Step 2: Gather Your Tools and Materials
Prepare all necessary tools and materials before beginning the installation. Typically, you will need:
- Piping and fittings suitable for your type of jet pump
- A pressure gauge and pressure switch
- Teflon tape for sealing threaded joints
- Electrical supplies (wire, clamps, conduit, etc.)
- A torque wrench and other basic hand tools
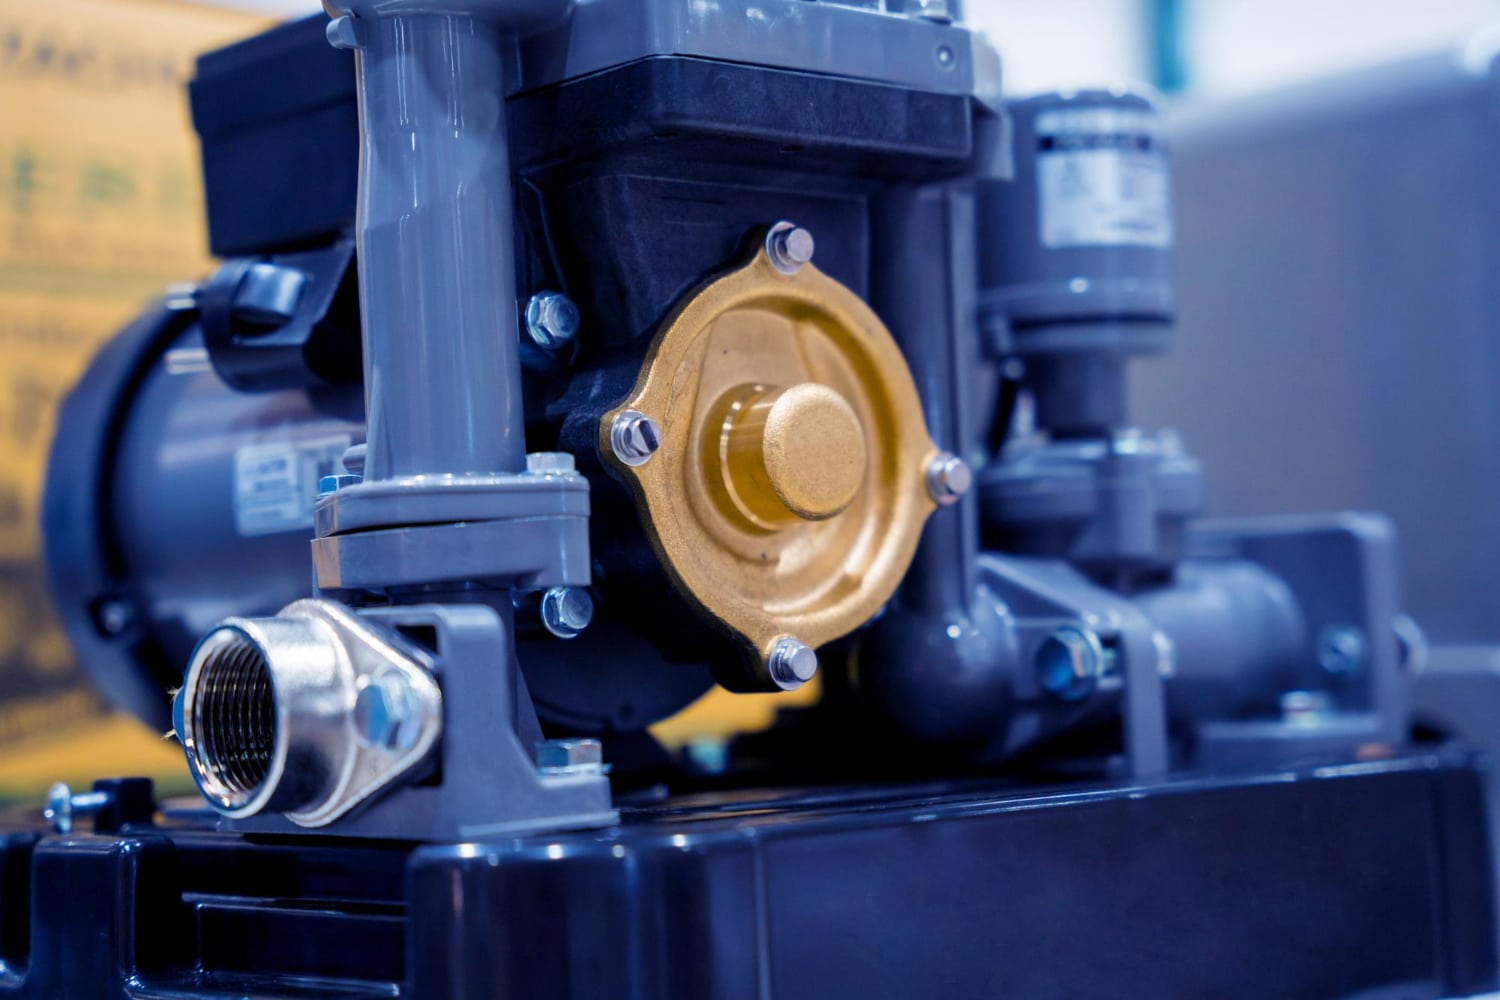
Step 3: Install the Pump
Positioning
Place the jet pump in a clean, dry, and well-ventilated area as close to the water source as possible to minimize the lift distance.
Plumbing Connections
- Attach the suction pipe to the pump’s inlet and ensure it is tightly sealed with Teflon tape to prevent air leaks.
- Connect the discharge pipe leading to your home’s plumbing system.
Prime the Pump
Before starting the pump for the first time, it’s essential to prime it by filling the pump and suction pipe with water. This removes air and prepares the pump for effective water lifting.
Step 4: Electrical Setup
- Power Supply: Ensure the pump is connected to an appropriate power supply that matches the pump’s voltage requirements.
- Safety First: Consider hiring a licensed electrician to handle the wiring, especially if you are not experienced with electrical installations.
Step 5: Test the System
Once everything is connected, turn on the pump and monitor its operation:
- Check for leaks in the piping.
- Observe the pressure gauge to ensure the pump reaches the correct pressure.
- Listen for any unusual noises that might indicate problems.
Step 6: Adjust the Pressure Switch
Adjust the pressure switch according to your household water pressure needs. This switch controls when the pump starts and stops based on the water pressure in the system.
Step 7: Continuous Maintenance
After installation, regular maintenance is key to prolonging the life of your jet pump. This includes checking for leaks, monitoring pressure levels, and cleaning the system periodically.
Get Expert Assistance from The Pump House
While DIY installation can be straightforward, having professional guidance can ensure your jet pump is set up perfectly for your specific needs. The Pump House offers expert advice and all the necessary supplies for jet pump installations.
Visit Us or Get in Touch
The Pump House
10 Newkirk Rd Unit 4, 5, or 6,
Richmond Hill, Ontario
Google Maps
For further assistance or to purchase quality jet pumps and accessories, contact The Pump House at +1 (905) 884-5588 or toll-free at +1 (800) 718-2789. You can also email us at info@onestop-pumpshop.ca or visit https://onestop-pumpshop.ca/. Trust our expertise to ensure a successful installation and optimal performance of your home’s jet pump.